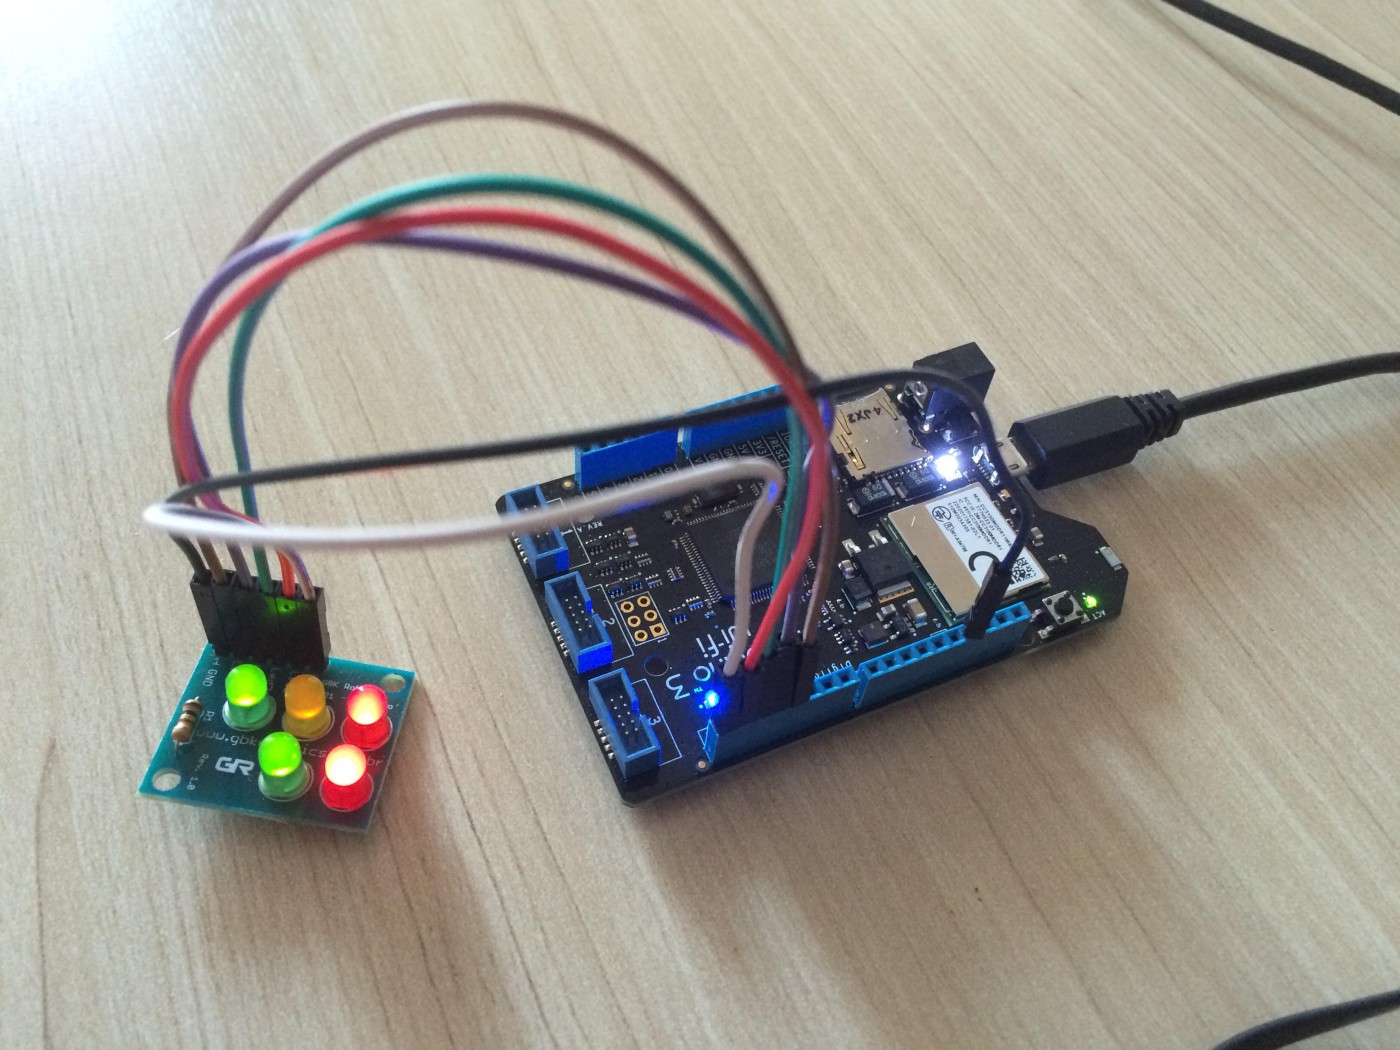
Say “Hello” to Netduino 3 [en-US]
Netduino is an open source electronics platform using the .NET Micro Framework. You can get more details on technical specification: http://www.netduino.com/netduino3wifi/specs.htm with .NET Micro Framework it’s possible to create embedded applications with limited resources. Developers can use Visual Studio, C# and .NET.
Isn’t that great? :)
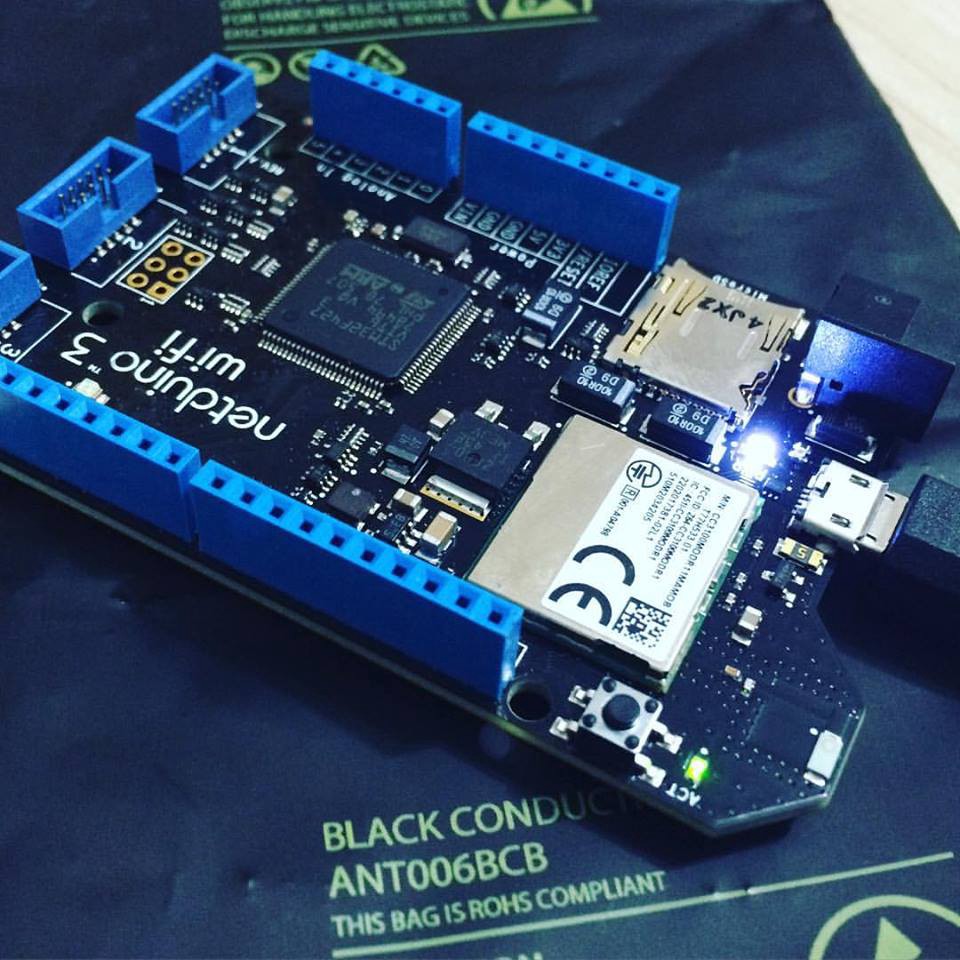
Before beginning we need to download the programs and install them in the following order:
- Microsoft Visual Studio Express 2013
- .NET Micro Framework SDK v4.3
- .NET MF plug-in for VS2013
- Netduino SDK v4.3.2.1
Now, we need to set up the wifi network following the image…
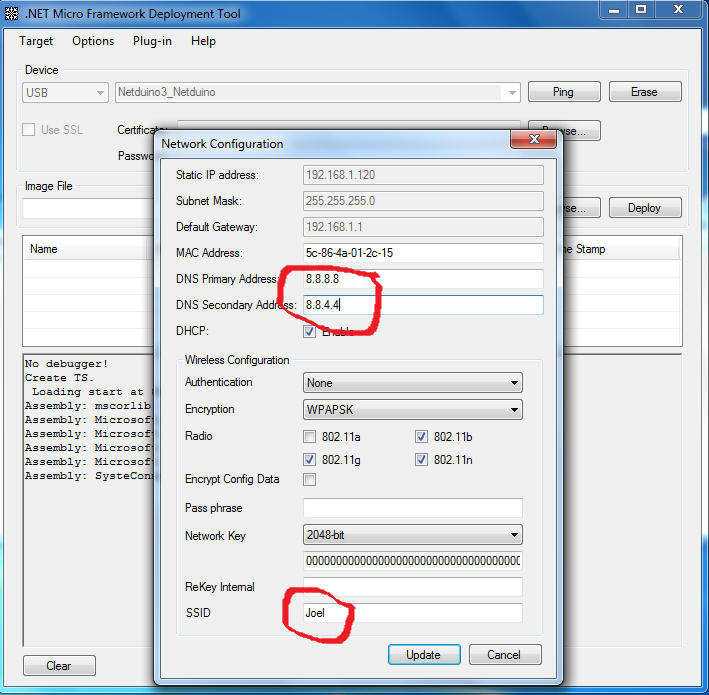
"C:\Program Files (x86)\Microsoft .NET Micro Framework\v4.3\Tools\MFDeploy.exe"Do not forget to check the Primary and Secondary DNS for proper functioning. DNS Google is used in this example. I had to put the DNS manually because I performed tests using the automatic DHCP mode and they failed. This might have happened because I used my iphone as a hotspot using a 4G connection.
Let’s go to the code
New project ->
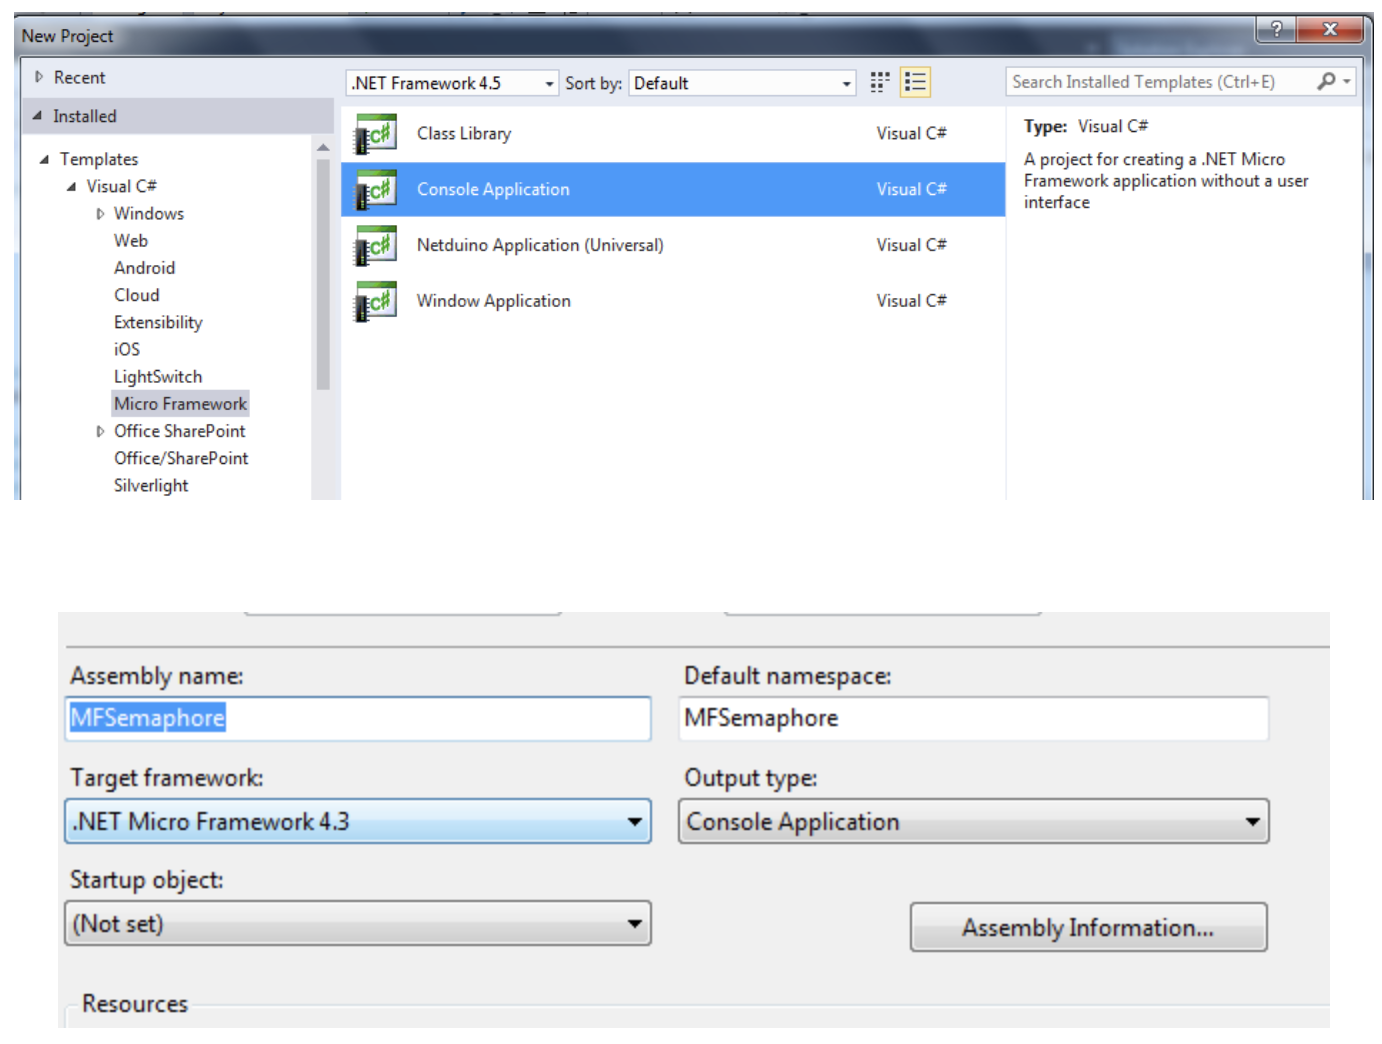
If the frame and the netduino are not set in the same version, an error will be displayed when trying to deploy the program. You can check the version of your netduino following the image:
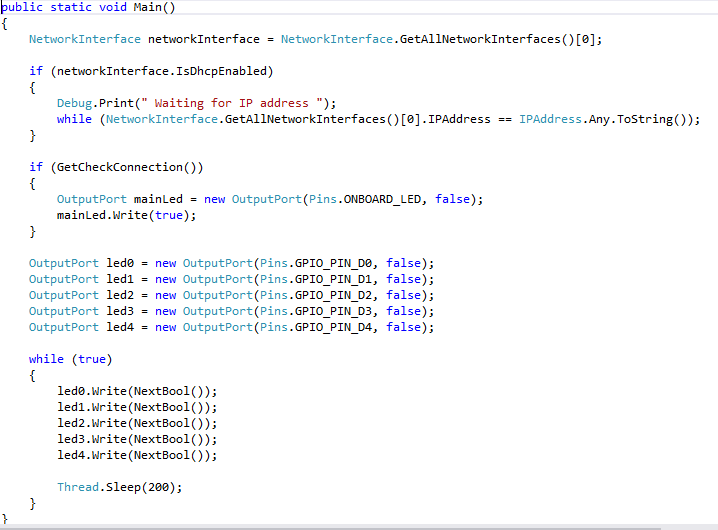
First, we check if the connection is in DHCP mode. Next We wait until the netduino connects to the wifi through a valid IP address.
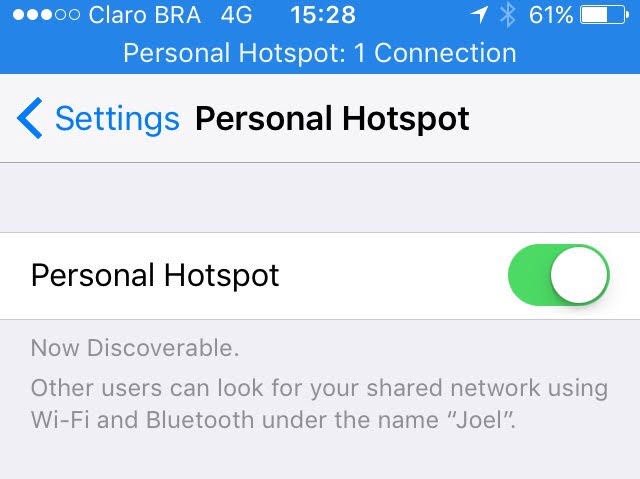
See that my iPhone was notified there was a connection. Happy for this :)
Then I checked if there was a connection with an external server and the LED will turn blue if we succeed.
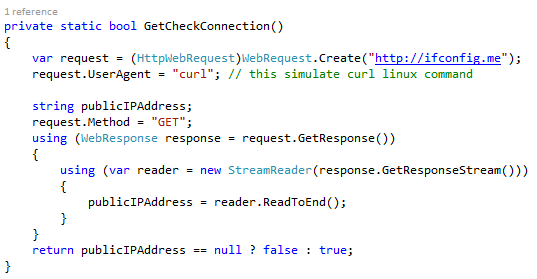
…and finally an infinite loop through the write (true or false) will ramdomly light the leds of the panel.

That’s all for today!!
